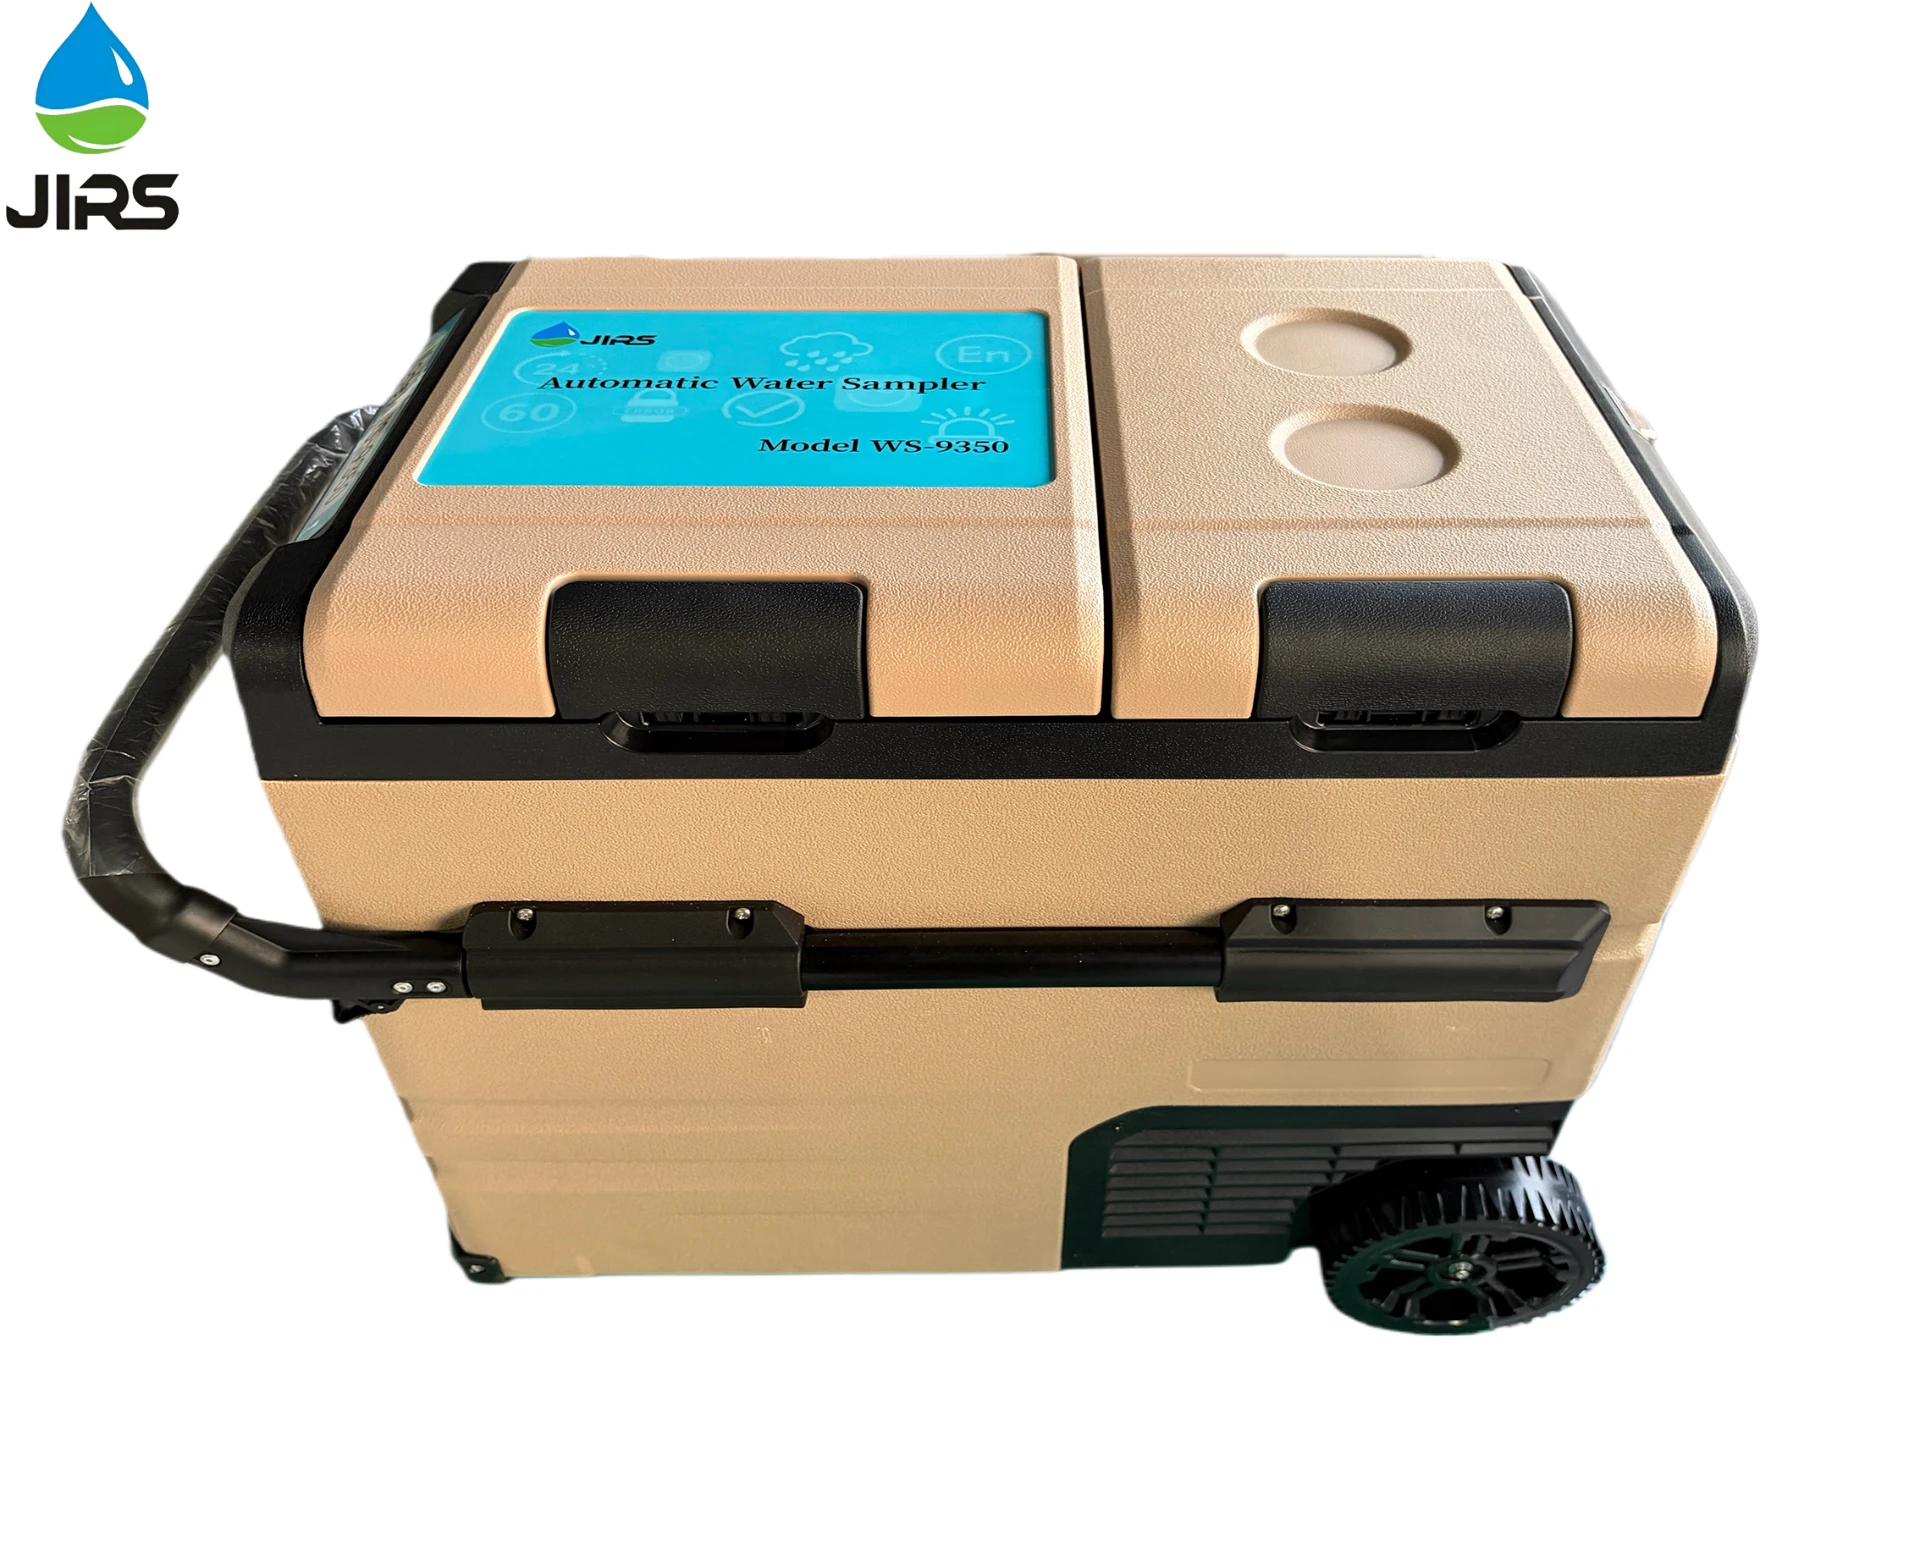
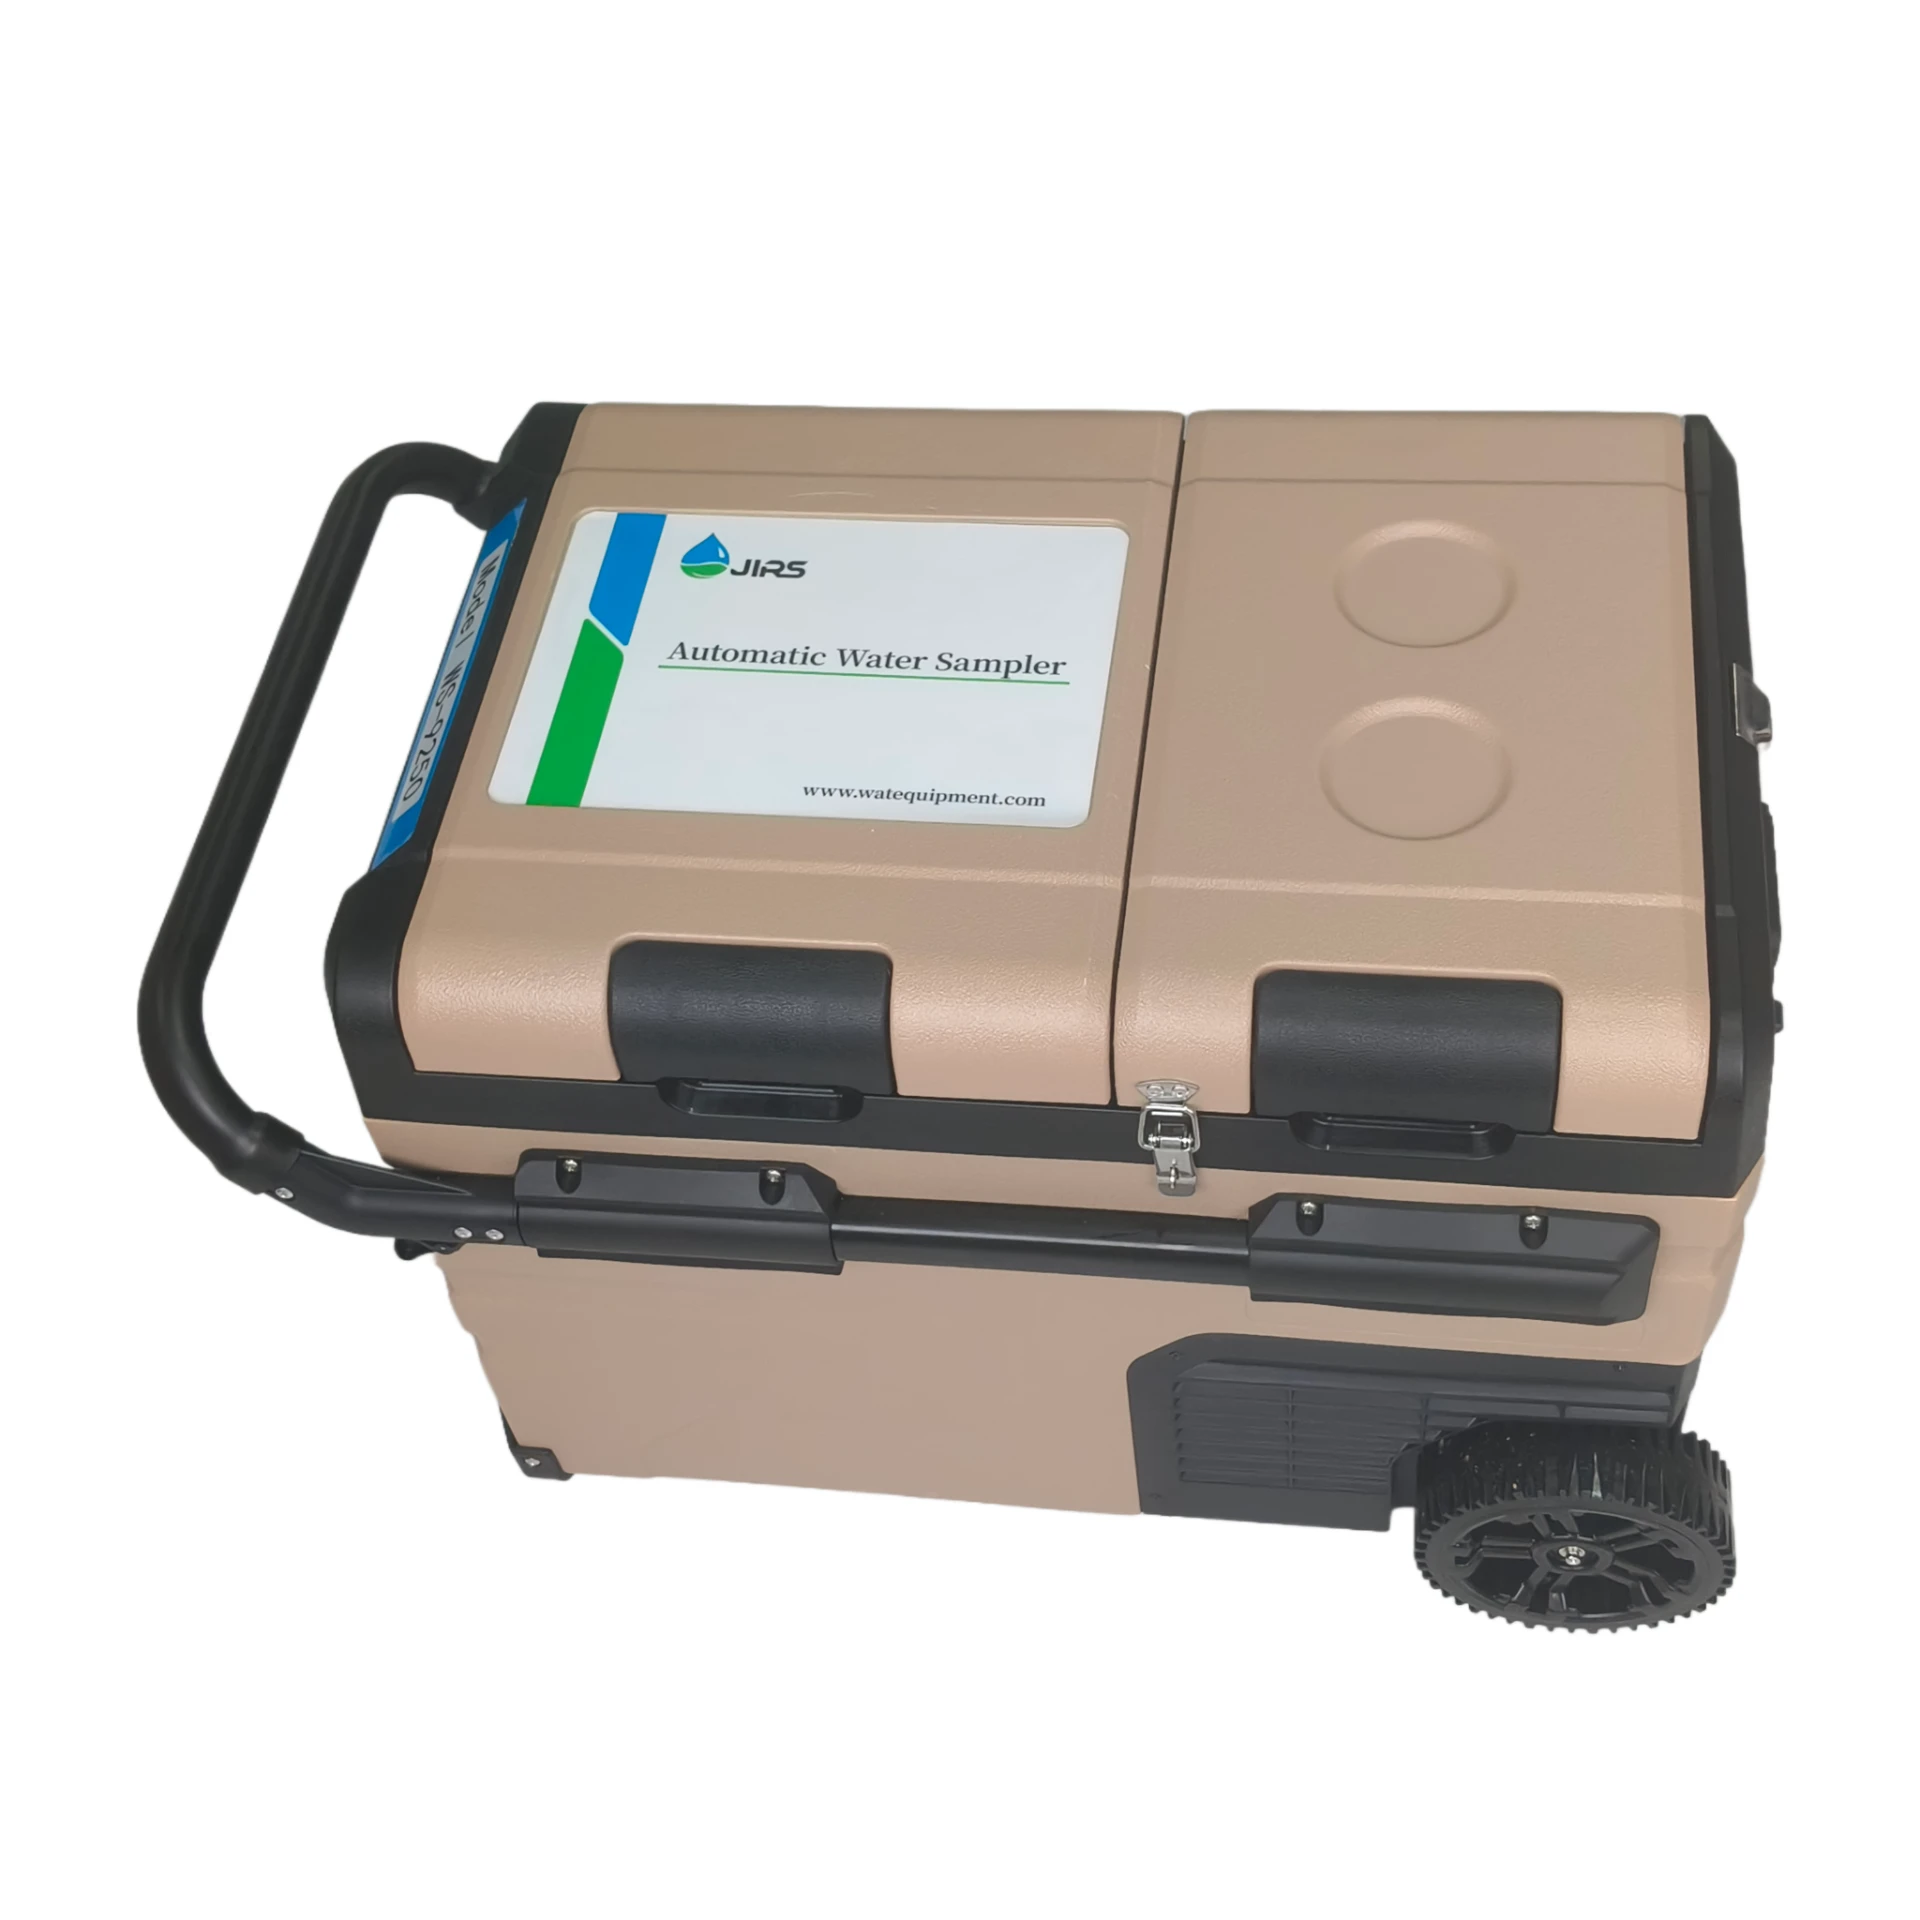
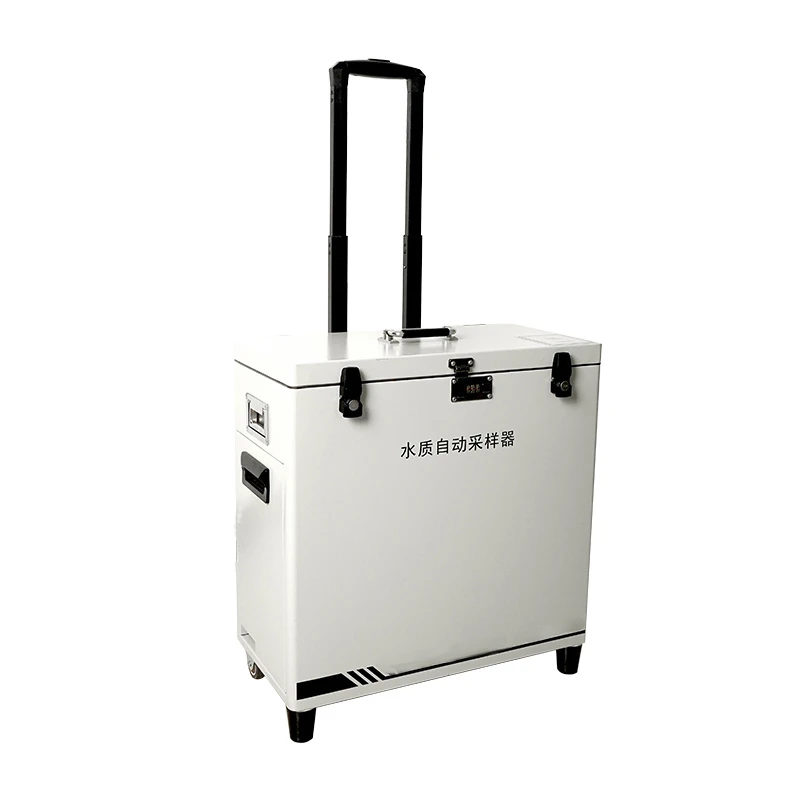
WS 9100

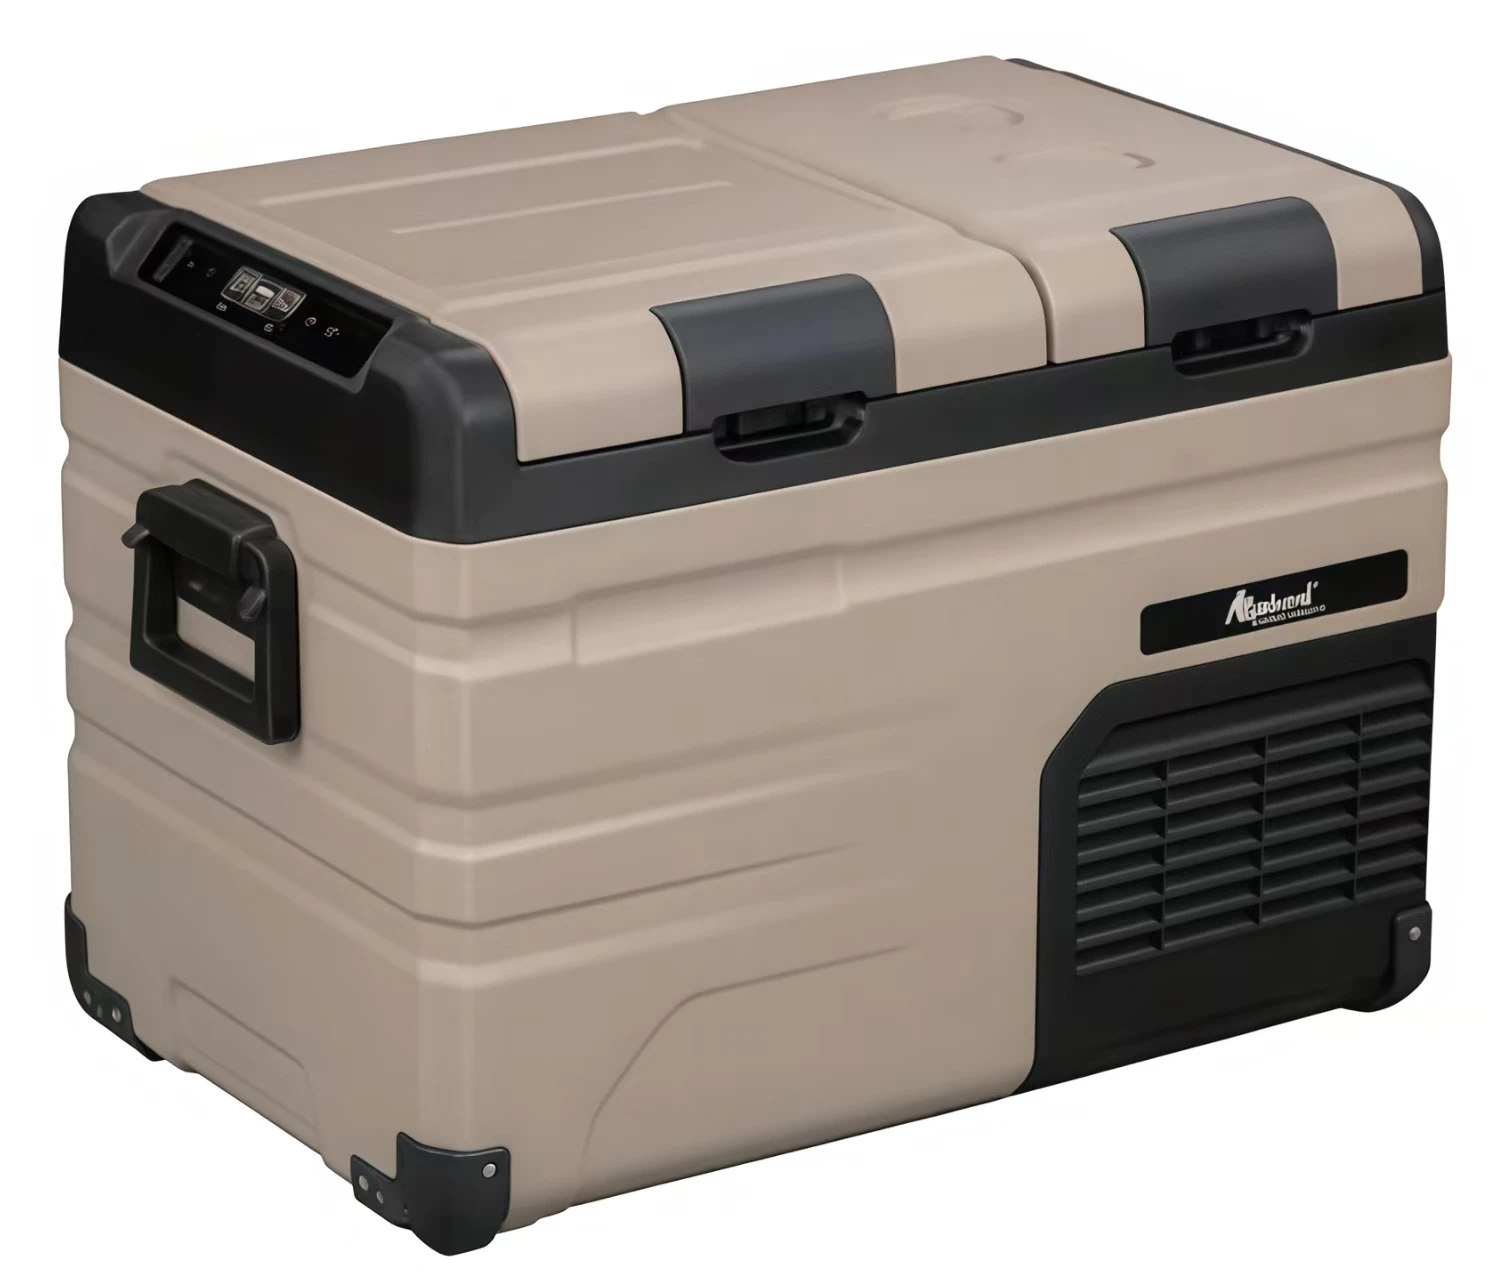
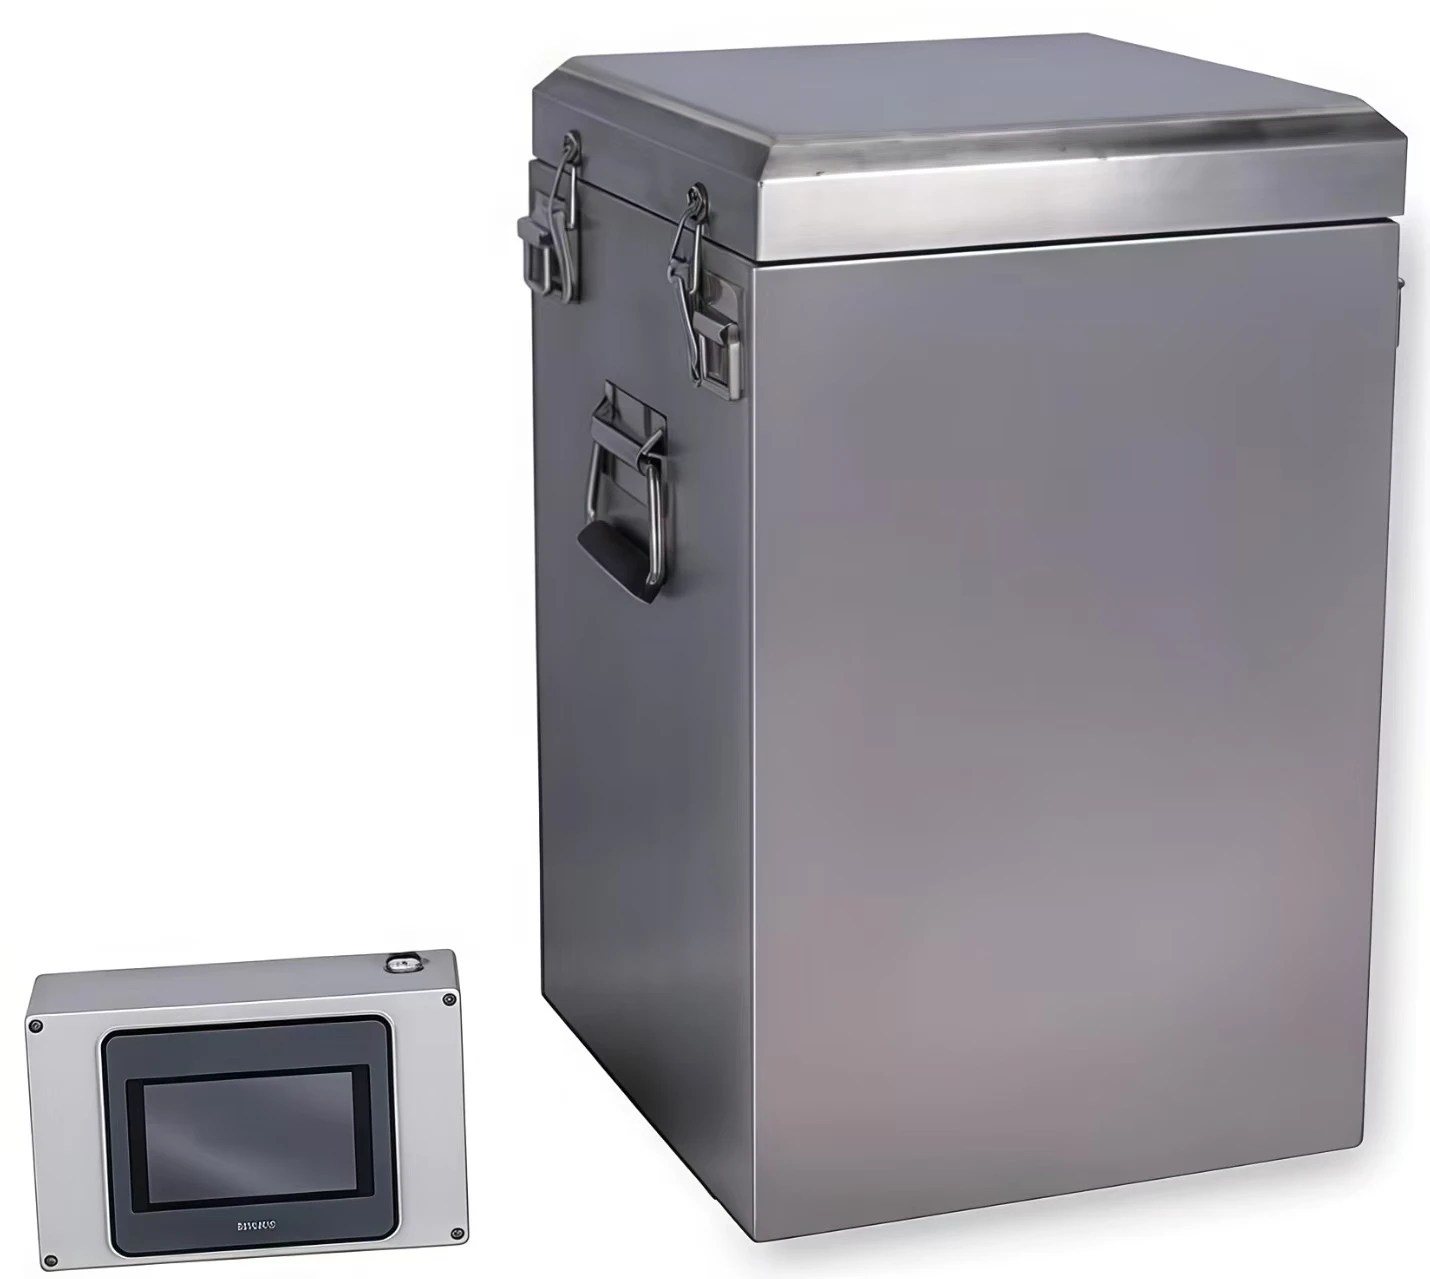
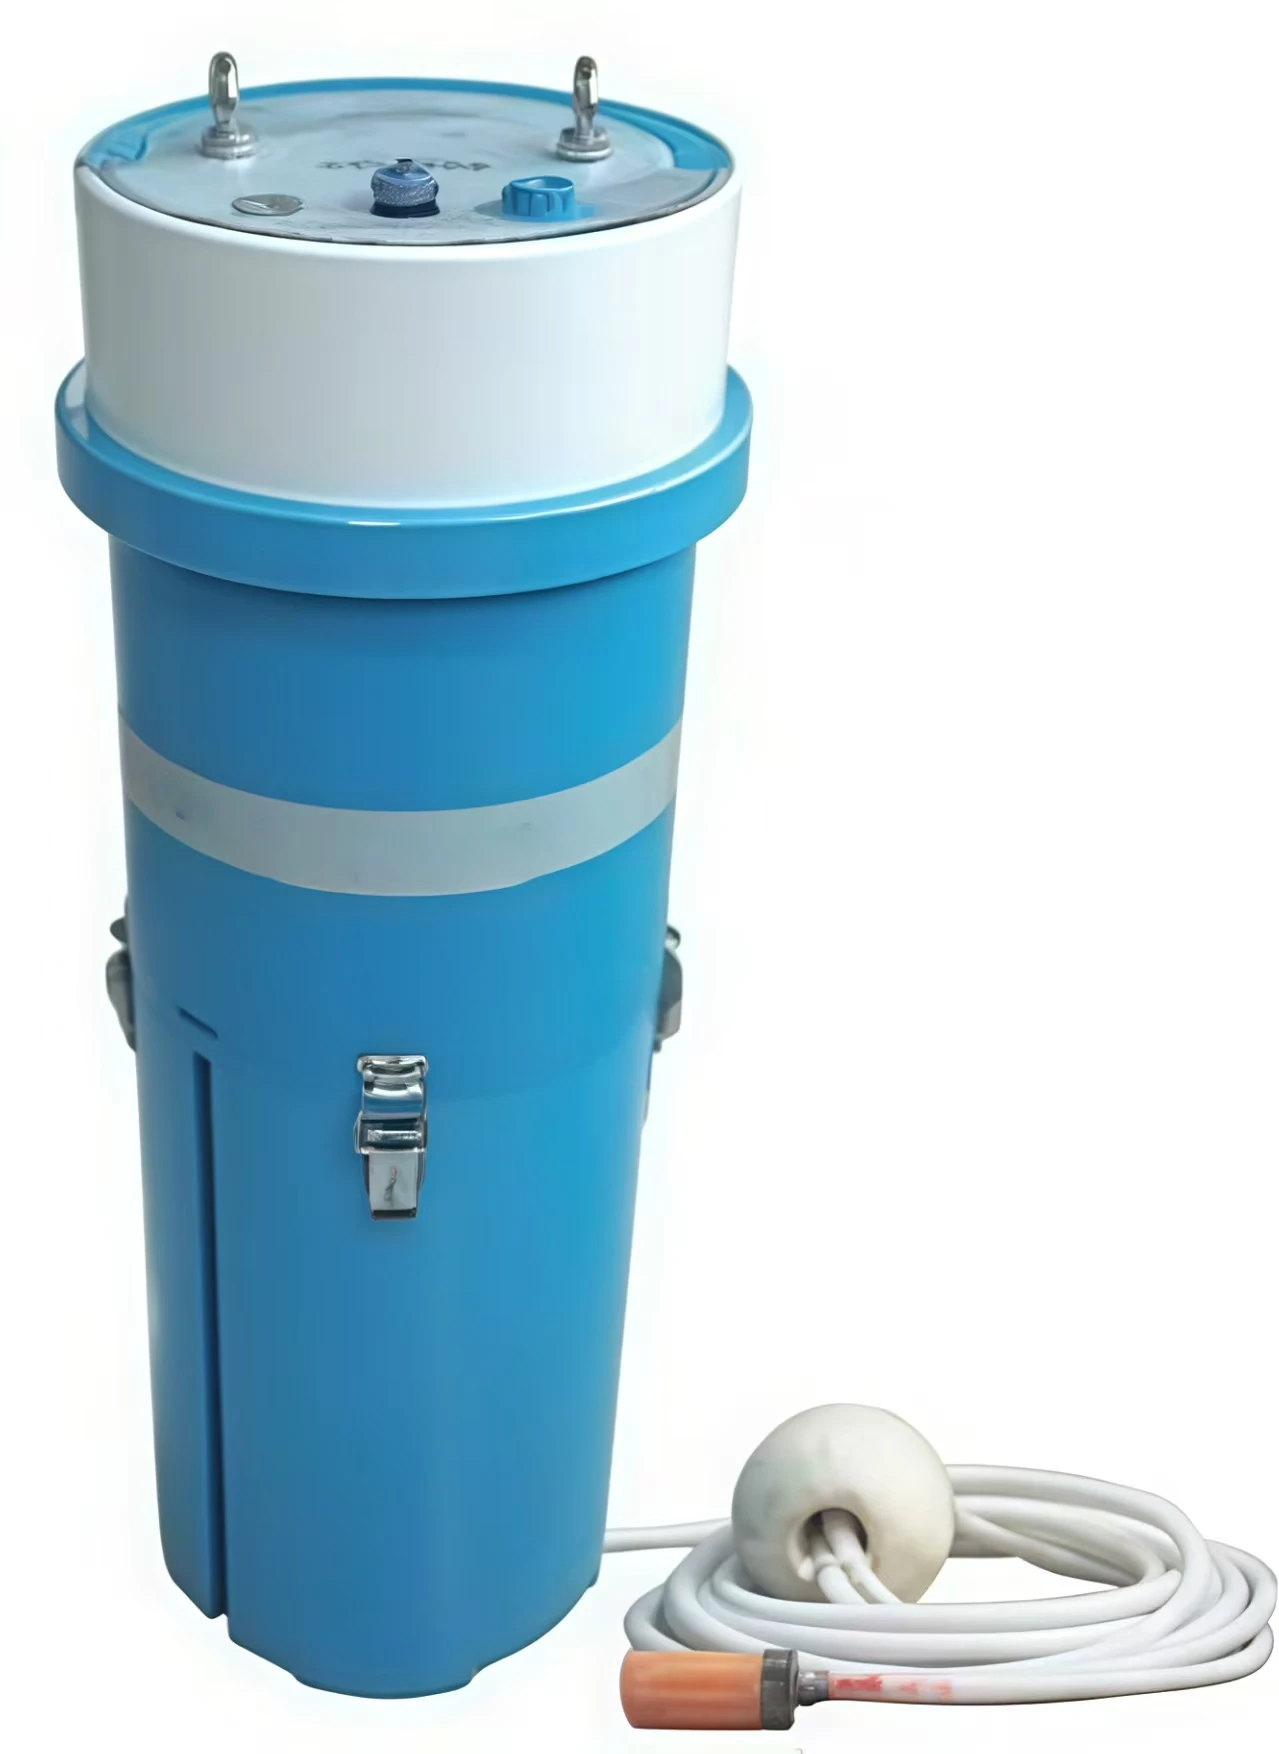
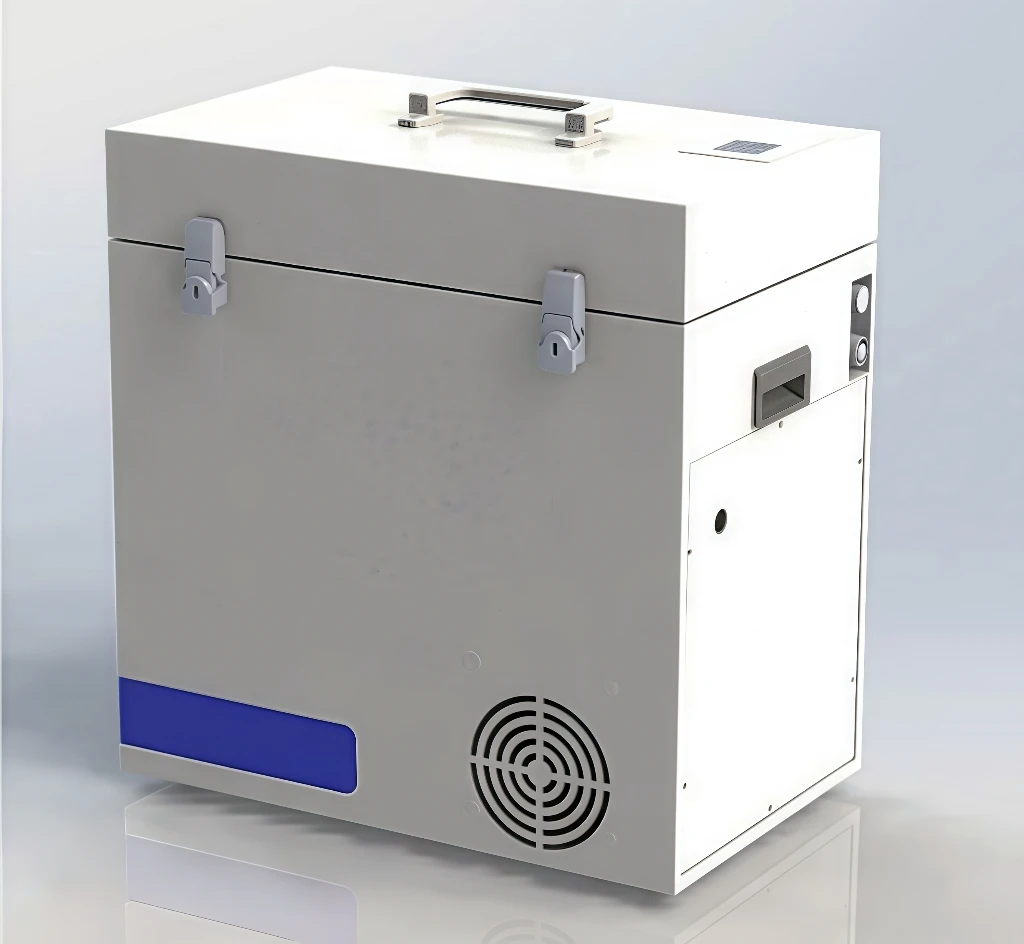
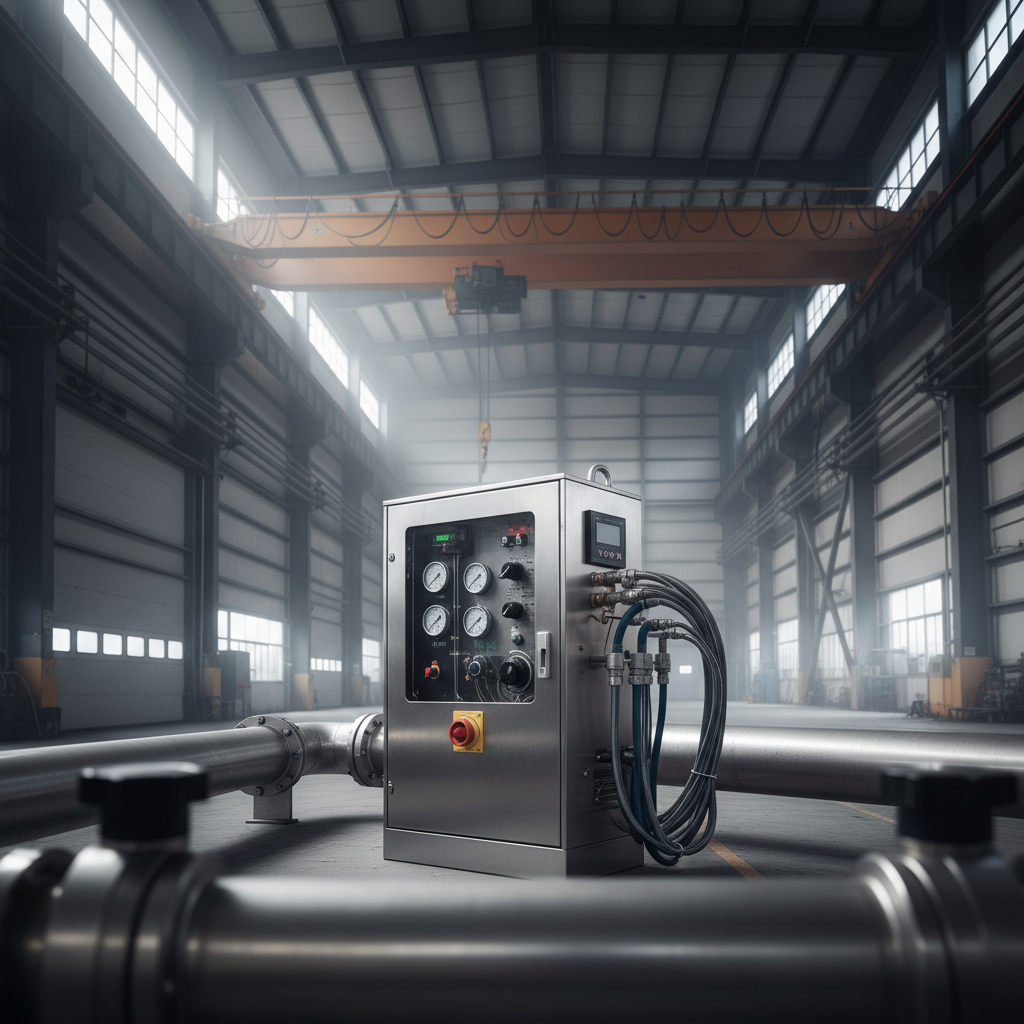
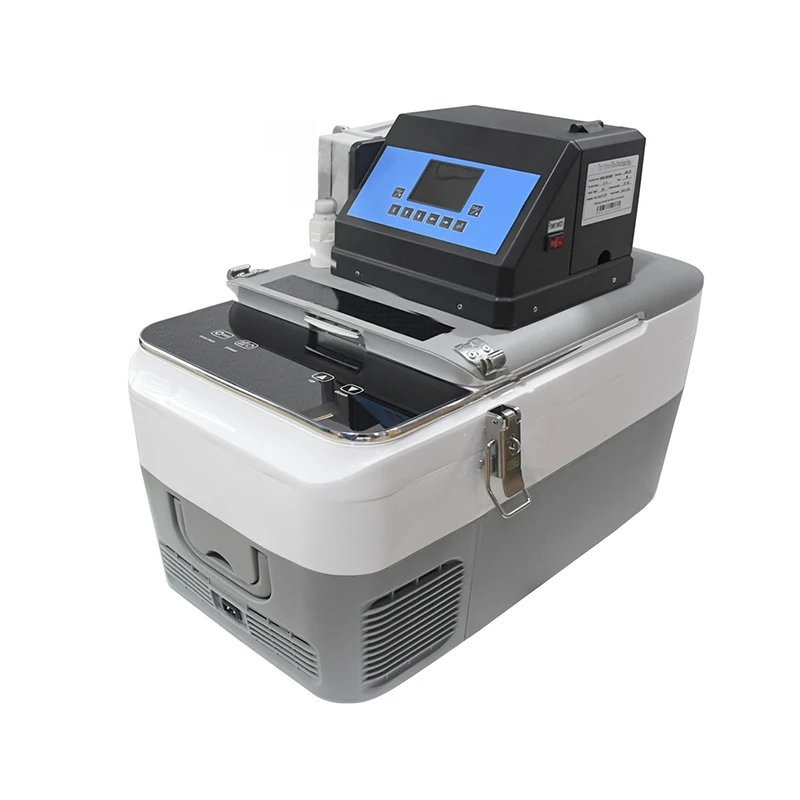
MODEL 9100 Series Portable Automatic Water Sampler has been designed to offer the user a wide range of options in a specialized environmental monitoring instrument. The unit uses a 12 VDC power source and can be operated using a 230/ 120 VAC to 12 VDC power supply, 12 VDC battery or 12 VDC battery\solar panel package for remote location sampling. The 2100 Series incorporates a temperature- controlled sample storage chamber that utilizes both refrigeration and heating to maintain sample temperature requirements. There is no need for ice or to stop monitoring when outdoor temperatures go below freezing. It uses a peristaltic pump design for liquid draw. The unit is controlled by a single- microchip computer. Fully programmable, the user can set sampling time interval, sampling quantity and sampling mode, as well as other application parameters according to their requirements. The 2100 series can be equipped with a flow sensor to accomplish volume-based sampling as well and time-based sampling.

Product Details

Product Details

Contact Now

Contact Now

Product Details

Specifications


1.Sampling Method:

* Composite sampling:

Sampling delay time: Any setting of 1-9999 minutes with increments of 1minute.

Sampling interval time: Any setting of 1-9999 minutes with increments of 1minute. Sampling volumes:50~7500 ml with increment in 1 ml.

Number of mixed samples:1-200

*Flowmeter control sampling:Dedicated flowmeter control sampling *Sampling with Flow Sensor with Pulse output. Control 1~ 9999 pulses.

2. Characteristic of Peristaltic Pump:3.7L/min.

3. Sampling Error:±5%

4. Repeat Sampling Accuracy:±5ml

5. Vertical Head:8m

6. Horizontal Suction Head: 50m. Sampling tube has automatic air purge function.

7. Sampling Bottle:1 x 7500ml Polyethylene bottle

8. System clock time control error: △1≤0.05% and △12≤3S

9. Air tightness of pipeline system: ≤-0.05Mpa

10. Mean Time Between Failure (MTBF): ≥1440h/time

11. Insulation Resistance: >20MΩ

12. Software lock, it can protect programs from modification.

13. It can preset and save maximum 10 programs according to needs.

14. Sampler can auto-record and save samples. The stored data will not be lost when power off, so you can check it at any time. Users can perform data analysis based on these data and water sample test results.

15. Working temperature:-25℃ to +50℃

16. Power: 12V DC, 80W

17. Size:580mm(L) x 320mm(W) x 520mm(H); Weight: 15Kg


Installation Precautions


1 . When placing the sampling bottle, be sure to press the sampling bottle to the bottom to prevent dispenser from colliding with the top of sampling bottle and not working properly.

2 . The pump tube should be checked regularly and replaced if damaged. Leave a gap of 2mm between the
pump tube and the pump shell. After pump tube is replaced, press ↑ (up) to make the pump rotate forward, or press (down) to make the pump anti-clockwise running. Let the pump rotate for a while, until the pump runs normally without jamming, and the pump tube is installed successfully.

3 . If the sampler is abnormal, please cut off the power immediately and notify the manufacturer to repair it. 4 . If the pumping accuracy does not meet the setting parameter, user can adjust the length of pumping pipe to meet the requirements. For more details, please refer to pumping parameter settings.


Programming Guide


After system is on, interface shows:


MODEL 9100 Automatic Water Samplers

MODEL 9100

2020-02-20      20:05:46


With the above display Press ↑(up) to make the pump rotate forward. Press ↓ (down) to make the pump rotate in the reverse direction.


1. Manual Sampling 

When in startup display, press→(right) to enter Manual sampling mode:


MODEL 9100 Automatic Water Samplers


Manual sampling

Set  00100ml  (50-7500ml)


Press  Enter    to confirm

Press   M         to cancel


Press ←(left) or → (right) to move cursor. Press ↑(up) or ↓(down) to increase or decrease number by 1. After setting the desired volume, press Enter ↵ (Enter) to save the setting. Press (M) to cancel. Use the same procedure for each parameter.


2. Automatic Sampling

Press ↵ (Enter under start-up interface to enter automatic sampling mode:

MODEL 9100 Automatic Water Samplers Auto-sampling

Please enter program number 01 Press Enter   to confirm

Press    M       to cancel

Select required program number then press ↵ (Enter) go to Auto-sample model. Press M button to cancel.

3. Automatic Sampling Parameter Setting

Menu: Press M to enter main menu (Press M again go back to start-up interface).

Menu

Sample Setting

Flowmeter

System Setting Factory Setting

About Exit

Select “Sample Setting”

Sample Settings

Set sample

Query

Sampling history Exit

Press ↵(Enter) to sample parameter setting interface:

Set Sample Parameter

Sun  1    Mon  1   Tues  1   Wed  1

Thur 1    Fri     1   Sat     1

Start  time  08:00 End   time  20:00

Interval time   0000    Min ( 1-9999)

Volume           00200  ml  (50-7500)

Mixed number    050         ( 1-200)

Sample number  01


Press  Enter   to confirm

Press  M         to cancel

To cancel setting, press M, going back to “ Menu” . To save the setting press ↵(Enter). As below:

Setting Confirm


Number        01    Save or cancel?


Press          Enter    to save

Pres            M         to cancel

The Sampler can save and install up to 10 preset programs. After setting, select “Query” to find the preset programs parameters.

Sample Setting

Sampling setting

Query

Sampling history Exit


Query

Sun  1    Mon  1   Tues  1   Wed  1

Thur 1    Fri     1   Sat     1

Start  time  08:00 End   time  20:00

Interval time   0030    Min ( 1-9999)

Volume           00200  ml  (50-7500)

Mixed number    050         ( 1-200)

Sample number  01


Press  Enter   to confirm

Press  M         to cancel


4. Folowmeter Setting

Press M on start-up interface, then you can go into the Folowmeter interface, as following:

Flowmeter

No flowmeter

4-20mA

Pulse flowmeter Flow data

Exit

Now, please choose according to your needs. such as select the 4-20mA and confirm.

4-20mA


Select 4-20 mA  mode

Press  Enter   to confirm

Press  M         to cancel

4mA   20mA

Start value

4-20mA

=  0000000 =  0000100 =  0000100

Press  Enter   to confirm

Press  M         to cancel


Set here how much 4mA represents and how much 20mA represents. And what is the starting value. such as select the Pulse flowmeter and confirm.

Set number of pulses

Current:        0000001


Start value:   0000001


Press  Enter   to confirm

Press  M         to cancel

How many pulses can you set to start.

Short circuit between pulse 6 and ground 7 is a pulse.

Go back to the main menu, Press Enter from Star-up interface, going into the automatic sampling interface, as the following:

MODEL 9100 Automatic Water Samplers Auto-sampling

Please enter program number 01 Press Enter   to confirm

Press    M       to cancel

Now our sampler goes into automatic sampling status.


5. Time Setting

At the Start-up display → System setting as below:

System settings

Time Setting

Communication Setting

Peristaltic Pump Parameter setting Password Setting

Blacklight Exit

Press ↵(Enter ) to Time Setting:

Time Setting


2023-01-01 20:35:58


Press   Enter  to confirm

Press   M        to cancel


6. Suction Tube Length Setting

Go into Suction Tube Length Setting interface, select the normal length.

Suction Tube Length Setting

Current: 0236 in (40-2000)

Set:    0236 in

Press Enter to confirm Press  M       to cancel

It the actual tube is longer or shorter than the pump tube provided, you should update the data.

7. Manual Calibration

Set Correction Factors

Current: 0650         

Set:     0000

Press Enter to confirm Press  M       to cancel


How to set the Calibration:

1st step: Set up the length of suction tube.

2nd step: Press ↑(up) on the start-up interface to make the pump rotate forward. If there’s water is being dispensed the set up was successful; Otherwise, continue to press ↑(up) until water is dispensed.

3rd step: Repeat the step 2 step 3 or 4 times. When the water output amount is stable, you can measure the amount and input the number to “ Setting Coefficient” . Press ↵ (Enter) to save.

8. Number of Air Purges

Setting Number of Purges

Before sampling:  1

Aftre  sampling:  1

Set before sampling:  1

1Set after sampling:  1


Press  Enter to confirm

Press   M        to cancel

The number of air purges indicates the number of backflushes before each sampling

9. Password Setting

Password Settings

Password set/cancel

Change password

Exit

As the above shows √ means password has been enabled. Press ↵ (Enter) to stop password enable state.
Original

Password:123456. If you want to change password, goes into the “Change password” interface:

Please enter new Password 0 0 0 0 0

10.Blacklight Time

Blacklight Time Setting

Current:    300 (5-300Sec).

Set :   300

Press Enter to confirm Press  M       to cancel

11. Refrigerator

A. Connect to the power and press ON/OFF key to run on. Now the “Power” light is on. The digital display will indicate the current temperature inside the chamber.

WS 9100


B. If the power is off or disconnected, the refrigerator will shut down automatically. But it will operate in the mode set before when power returns.

C. Press △UP or ▽DOWN can set the temperature.

D. When continuously press “SET” until the display shows “ECO” or “HH”, you can set the refrigerator to run in ECO energy-saving mode or MAX(HH) speed mode. The corresponding indicator light will be on.

E. Under “ECO” mode, the compressor is running at low speed to save energy. When working in “MAX”
mode, the compressor is running at high speed, and the power consumption will increase. It is recommended to start the MAX mode when rapid colling is required or the freezing temperature needs to be as low as -
20°C.

12. About

Press M to start-up interface, “About” as:

About

Automatic Water Sampler 6rd

Version   2023/04/18

Hardware

Product

Use

13 Temperature Controller:

Heating Mode Setting

Key Point : Start up temperature < Stop temperature ( The program automatically turn on the heating mode)
Set up:

1. Long press the▲up botton until the screen flashes. Then press the ▲ up or ▼down botton to set up the Start up temperature.

2. long press the ▼ down botton until the screen flashes. Then press the ▲ up or ▼ down botton to set up the Stop temperature.

For example:

How should I set it up if I want to stop heating at 4 ℃ , and start heating again when temperature drops to 0℃

1st :Make sure it is in heating mode, Start up temperature < Stop temperature

2nd :long press the ▲ up botton until the screen flashes. Set Start tempreture to 0℃.

3rd: long press the down▼ botton until the screen flashes. Set Stop tempreture to 6℃

Terminal diagram


RS-232

Ground

Flowmeter

Pulse

Ground

1

2

3

4

5

6

7

8

Input

Output

4-20 ma -

4-20 ma +

+16  VDC

+

-

-


Packing List


Enclosure     

1

 Pumping Pipe

1

Pumping pipe with filter

1x6m

Polycarbonate Sampling Bottle

1x7500ml

Operation Manual

1

 Certificate   

1

DC power cord  

1

AC power adapter  

1


WS 9100

Get in Touch

If you are interested in our products, you can choose to leave your information here, and we will be in touch with you shortly.

* Name

* E-mail

Phone

*Message

FAQS

Frequently Asked Questions (FAQ) About Automatic Water Sampler

What is the purpose of the 9100 series sampler?

Down Down

Portable and automatic collection of water samples for testing.

How do I install a 9100 Series Sampler?

Down Down

Assemble at appropriate location as directed.

How do I operate the 9100 Series Sampler?

Down Down

After setting the parameters, start automatic acquisition.

What's wrong with the 9100 series sampler?
Down Down

Caused by pump abnormality or pipeline blockage.
Water-Sampler-New.webp                  


Related Products

right
right
RO Membrane

RO Membrane

PH-6800

PH-6800

WS-9200/9250

WS-9200/9250

RO-8100

RO-8100

RO- 8200

RO- 8200

ORP-6800

ORP-6800

PH/ORP-600

PH/ORP-600

JIRS-803C

JIRS-803C

Related News

right
right
Guide to Ensuring Water Purity for drinking water tds Monitoring

Jul.01,2026

Guide to Ensuring Water Purity for drinking water tds Monitoring

Ensuring Water Purity: The Ultimate Guide for Drinking Water TDS Monitoring Maintaining high water quality standards is essential for public health and industrial safety. One of the most critical metrics for assessing water purity is Total Dissolved Solids TDS, which represents the combined content of all inorganic and organic substances dissolved in water. Utilizing high-precision equipment for drinking water tds measurement allows facilities to detect contamination and ensure that filtration systems are operating at peak efficiency. In this guide, we will explore the technical aspects of TDS monitoring and how advanced transmitters provide the reliability needed for modern environmental monitoring.

Understanding the Conversion of Electrical Conductivity to TDS

Jun.29,2026

Understanding the Conversion of Electrical Conductivity to TDS

Understanding the Conversion of Electrical Conductivity to TDS In water quality analysis, measuring the purity of a liquid often involves understanding the relationship between electrical conductivity to tds Total Dissolved Solids. While conductivity measures the ability of water to pass an electrical currentwhich is directly influenced by the concentration of ionized substancesTDS represents the total amount of mobile charged ions, including minerals, salts, or metals dissolved in a given volume of water. For professionals in environmental monitoring and water treatment, mastering this conversion is essential for maintaining system efficiency and ensuring regulatory compliance.

Industrial Guide to Electrical Conductivity Salt Water Monitoring

Jun.27,2026

Industrial Guide to Electrical Conductivity Salt Water Monitoring

Understanding Electrical Conductivity Salt Water Monitoring for Industrial Precision In the realm of water quality analysis, measuring the electrical conductivity salt water levels is a critical process for maintaining industrial efficiency and environmental safety. Conductivity serves as a direct indicator of the concentration of dissolved ions, which is essential for industries ranging from desalination plants to chemical manufacturing. Accurate monitoring prevents equipment corrosion, ensures product purity, and supports regulatory compliance. By utilizing advanced instrumentation, operators can achieve real-time insights into salt concentrations, allowing for immediate adjustments in water treatment processes to avoid costly downtime.

Technical Guide to Industrial ec meter circuit Design and Use

Jun.26,2026

Technical Guide to Industrial ec meter circuit Design and Use

Understanding the EC Meter Circuit: The Heart of Water Quality Analysis Electrical Conductivity EC is a fundamental parameter in environmental monitoring, aquaculture, and industrial water treatment. At the core of every reliable measurement device is a sophisticated ec meter circuit , which converts the physical conductance of a liquid into a precise digital reading. Whether you are managing a boilers deoxygenation process or monitoring nutrient levels in hydroponics, understanding how the circuit handles signal amplification and temperature compensation is key to ensuring data accuracy. This guide explores the technical intricacies of EC circuitry and how it integrates into professional water quality controllers.

Professional Guide to drinking water testing for tds and Purity

Jun.25,2026

Professional Guide to drinking water testing for tds and Purity

Drinking Water Testing for TDS: Ensuring Pure and Safe Water Quality Maintaining high water quality is essential for both health and industrial efficiency. When performing drinking water testing for tds , professionals seek to measure the Total Dissolved Solids TDS, which indicates the concentration of dissolved inorganic salts and organic matter in water. Whether you are managing a municipal water plant or a high-precision industrial facility, understanding the conductivity and TDS levels is the first step toward effective water treatment. In this guide, we explore the technical aspects of TDS measurement and the advanced instrumentation required for accurate monitoring.

Industrial TDS Controller Machine for Water Quality Management

Jun.23,2026

Industrial TDS Controller Machine for Water Quality Management

Maintaining precise water purity is critical for various industrial, agricultural, and domestic applications. A tds controller machine serves as the brain of a water treatment system, continuously monitoring Total Dissolved Solids TDS to ensure that water quality remains within specified limits. Whether you are managing a hydroponic farm, a pharmaceutical lab, or a large-scale reverse osmosis plant, having an automated way to regulate mineral concentrations is essential for efficiency and product consistency. In this guide, we will explore how these machines work and why they are indispensable for modern water management.

Optimize Water Purity with a TDS Controller in RO System

Jun.21,2026

Optimize Water Purity with a TDS Controller in RO System

Maximizing Water Purity: The Role of a TDS Controller in RO System Achieving consistent water quality is the primary goal of any reverse osmosis setup. A tds controller in ro system acts as the brain of the filtration process, monitoring Total Dissolved Solids TDS in real-time to ensure the output meets specific purity standards. Without precise control, users often face the dilemma of either wasting too much water or compromising on the purity of the drinking or process water. By integrating an intelligent controller, you can automate the blending process, extending the life of your membranes while maintaining a perfect balance of minerals.

Optimize Water Quality Using a tds controller for ro Systems

Jun.20,2026

Optimize Water Quality Using a tds controller for ro Systems

Optimizing Water Purity with a TDS Controller for RO Systems Maintaining the ideal balance of minerals in purified water is critical for both industrial processes and residential health. A tds controller for ro acts as the brain of a Reverse Osmosis system, ensuring that Total Dissolved Solids TDS remain within a precise range. Without an effective controller, RO systems can either strip too many essential minerals or allow contaminants to leak through as membranes age. This guide explores how these devices function, their importance in water treatment, and how to choose the right model for your specific needs to ensure consistent water quality.

If you are interested in our products, you can choose to leave your information here, and we will be in touch with you shortly.


en_USEnglish